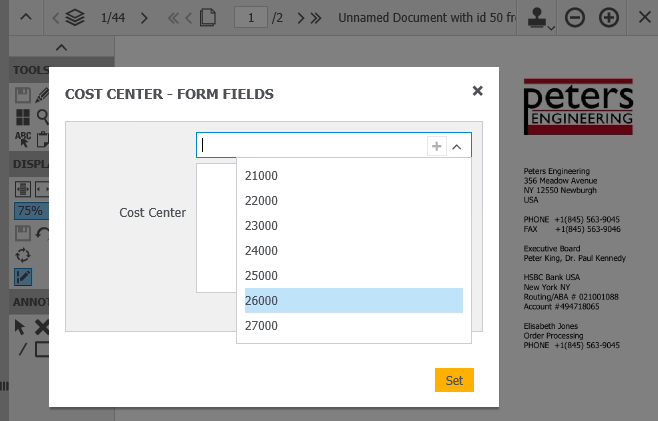
To prevent errors during indexing, you can create a select list for a stamp. A colleague can take the stamp and then, for example, simply choose the corresponding number from a cost center select list – no need to type it in. The stamped invoice is then displayed as usual in the list of the responsible colleague. Here‘s how it works:
1. Create a fixed select list containing your cost centers – if there isn’t already one available. This can be done within DocuWare Administration under Organization > General > Select lists:
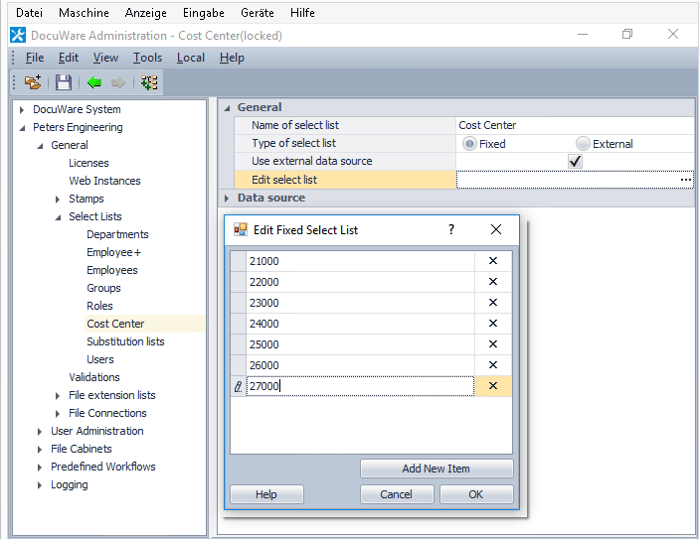
As an alternative, you can also set up a select list in the system area of DocuWare Configuration.
2. Creat a stamp: Organization > General > Stamps > Public Stamps. The type of stamp text is important.
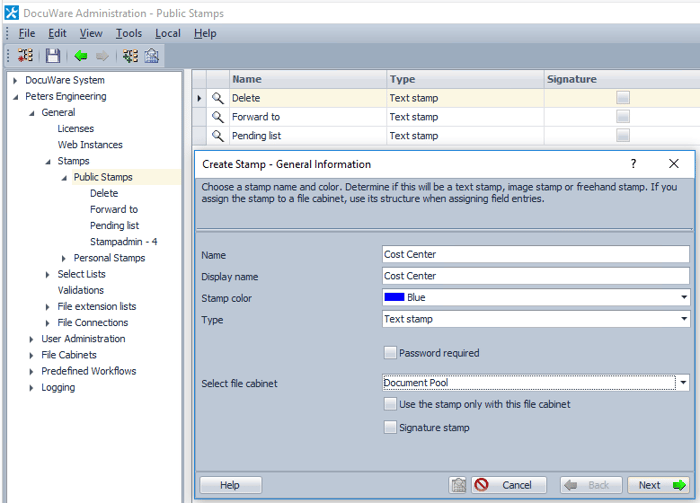
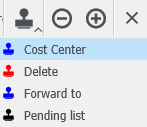
The display name determines how it appears in Web Client:
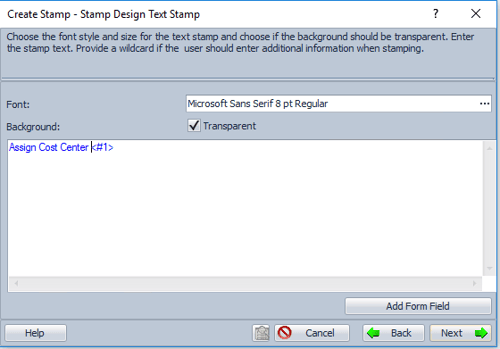
3. Add a form field for the cost centers. The placeholder <#1> will then be linked to the select list with the cost center numbers in the next step.
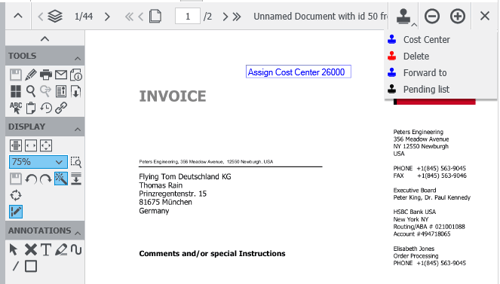
Note: The name of this field will appear exactly like this when the stamp is placed in the document:
4. To assign the cost center select list to the form field, click the three dots on the right:
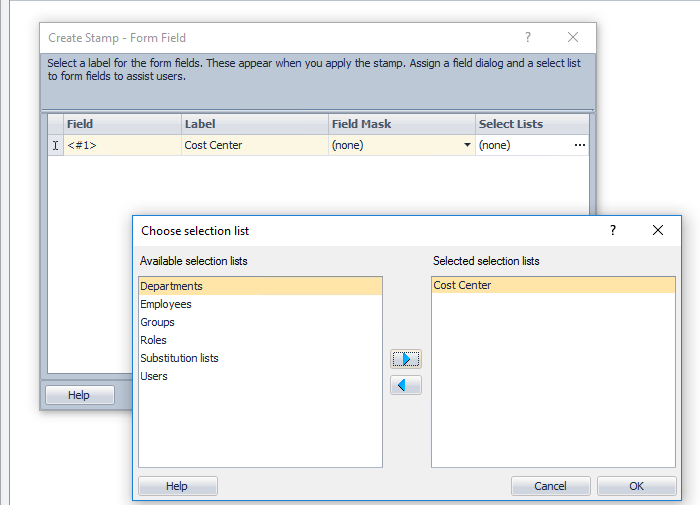
The message Check Accessibility will be appear – simply confirm with OK.
5. Choose which of the document’s index fields should be filled or altered when the stamp is added. In our example it would be "Cost Center." For Filled with please enter prompt entry and for Fixed Entry the form field.
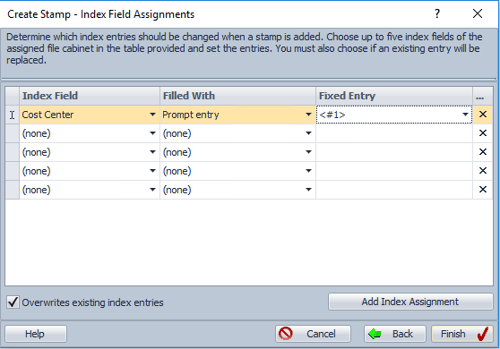
This allows the user to write an entry of the cost center select list into the index field "cost center" when stamping.
6. Assign the stamp to different employees - in the last step of the wizard.
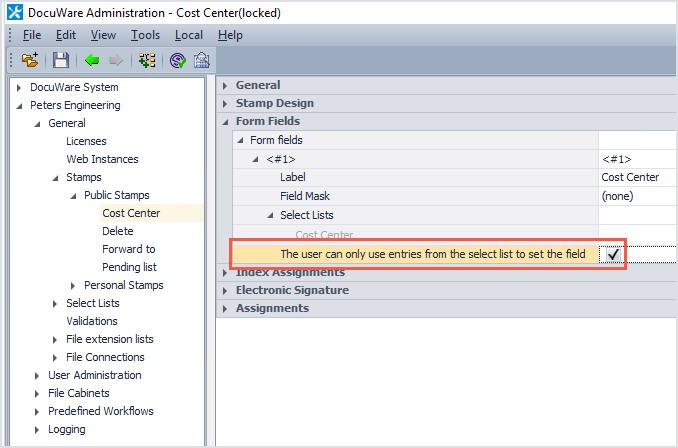
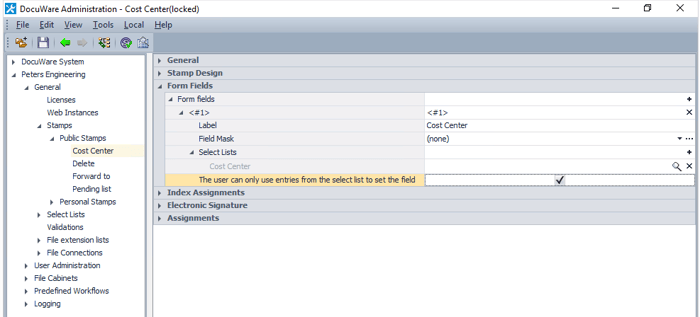
7. Don‘t forget: After the stamp has been saved, please activate The user can only use entries from the selection list to set the field on the overview page. This is the only way to avoid incorrect entries.
8. If an employee uses the Assign cost center stamp in Web Client, all cost centers may be picked from the select list.
