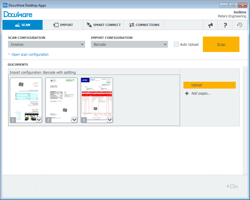
 With the generational change from Windows Client to Web Client, the scanning of paper documents has also been improved. Now users can more easily capture documents and turn them into a digital format. It’s simple: just start scanning directly out of Web Client and save the documents in DocuWare.
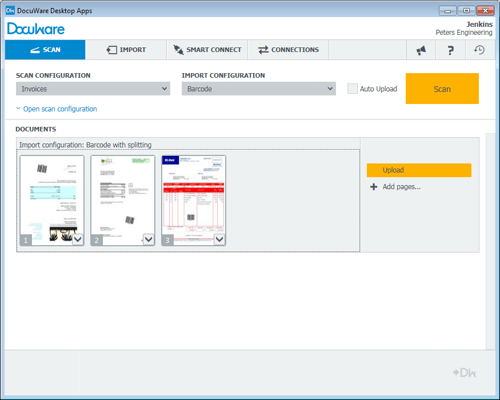
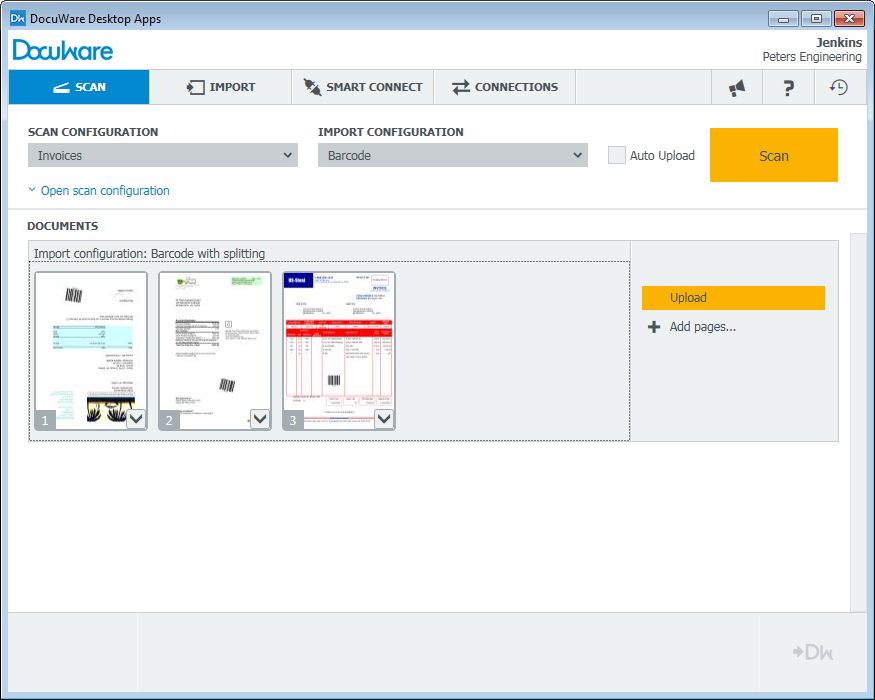
In order to capture documents with a locally connected scanner, you can opt to use DocuWare Scan. This can be installed with a click of a button on Web Client with “Install Desktop Apps“. New documents can then be captured by simply clicking on the “Scan” button in a basket – as shown in the following screenshot: 
The installed scan application will then open and you can begin immediately. Scanned pages are shown directly as a control or may be directly uploaded to Web Client.
Grayscale, Resolution & Co.
Of course you can further customize the scan process: for example, you can adjust settings that define whether a document is one-paged or double-sided; if it is scanned in color, grayscale or black/white; and what resolution is needed. All settings can be stored as scan configurations, so that they can be quickly used during upcoming scan processes. This is particularly valuable if you are scanning different document types. When scanning invoices, for example, it might be fine to set the scan to greyscale while others, such as images for an insurance case, might have to be stored in color.
Automatically Indexing Documents After Scanning
When scanning, you can now determine how documents should be further processed afterwards. In the simplest case, they are sent to a user’s basket. But with DocuWare‘s import configurations, there are a number of other processing options that allow you to store in different baskets or straight into a file cabinet. With the Bar Code & Forms license, your scanned documents can be quickly indexed and divvied up.
Read how to process documents and store them in a DocuWare file cabinet with the help of import configurations in one of the next articles in this series.

