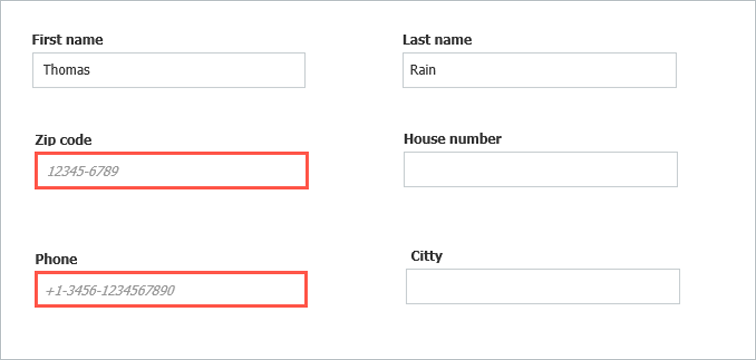
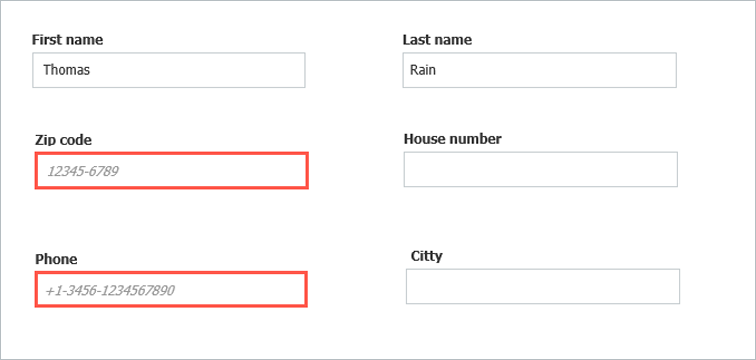
With smart technology, forms help you capture data quickly and correctly. Entries are automatically checked and only transmitted once they match specifications. This avoids inconsistent spelling, incorrect entries or typing errors.
Thanks to standardized data capture with electronic forms, there’s no need to deal with illegible handwriting. But to make sure that the entries in your digital form are not only readable, but also as correct as possible, you can configure a form using definitions and parameters that need to be met.
Ensure Consistent Spelling
For example, you can specify formatting for telephone numbers or dates. If the entry in the form field does not match this definition, the smart form will report this back to the user, who can then correct the entry immediately.
Here‘s how: Define a Mask and assign the mask to the field in Form Configuration.
Provide Entry Helpers
You can define fixed input formats so that nothing is forgotten for long character strings such as a tax ID or insurance policy number. The correct format is displayed as an example in the empty form.
Here‘s how: Just as in the example above - Define a Mask and assign the mask to the field in Form Configuration.

Limit Typos
Use field types such as drop-down lists, multiple choice or checkboxes to specify as many answers as possible.
A tip for form designers: If the options are already available as a list, you can import them - for example, a list of cost centers for an order request. In this way, you can again avoid type-o‘s when creating the form. And it makes it even easier for a user to simply select a cost center.
Here’s how: You assign a one column select list to the drop-down list field type in the Form Designer.
Cross-Checks with Other Data Sources
To ensure that a customer number matches a customer‘s name, it’s best to compare the customer's entry with the data kept in the CRM before a form is sent. If the customer number differs from the CRM number, the document is not stored and the user is asked to correct the entry.
Here’s how: You link a Validation Service with a store dialog. You then assign the store dialog to the form.
Never Miss a Thing
If an entry is particularly important, make the field mandatory. The form can’t be sent until the field has been filled in.
Here’s how: So simple – just place a checkmark to make the field mandatory in the Form Designer.

